
I learned something about homemade pie crusts recently.
Most people are scared of them. And completely overwhelmed with the thought of making a homemade pie crust.
Huh. Really?
I want to know…are you overwhelmed by the thought of making your own pie crust? Have you ever considered skipping past the pre-made rolled crusts from the store? Or you an old pre at homemade crusts?
I’ve been making my own pie crusts for over a decade now. And yes, there was a point where I thought it crazy. Until I made one. Tasted it. And vowed only to go back on rare occasion when I’m in need of a little convenience.
Below I have some tips for making the perfect pie crust at home!

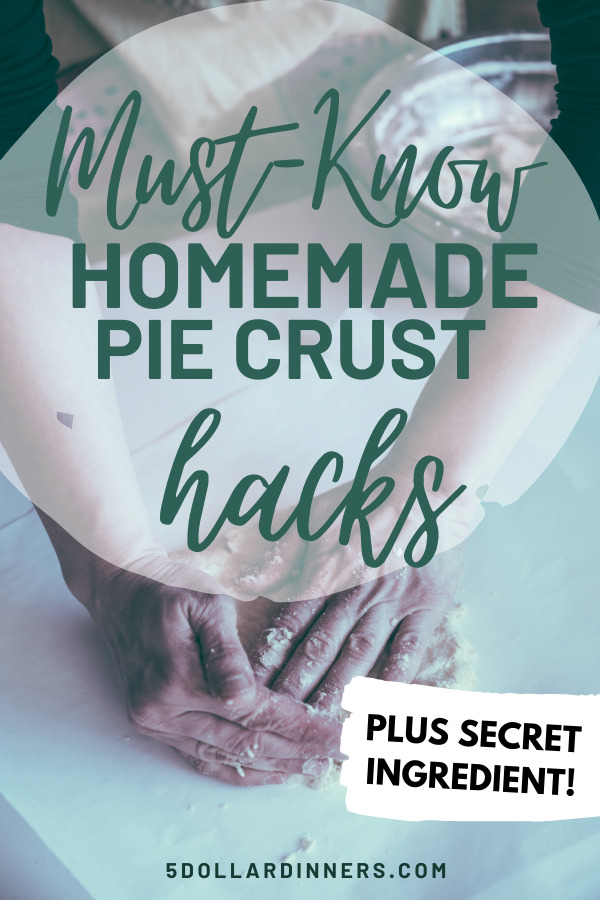
How to Make Perfect Homemade Pie Crust
- Make your own crust (See recipe below for the secret ingredient!)
- When cutting the dough, you want mostly crumb-y size pieces, but you also want some larger pieces of the butter fat/shortening. The larger pieces will then get rolled out into the crust, causing it to be flakier.
- Don’t over-knead the dough. After you’ve cut in the butter and you fold it together into a dough ball, don’t over-knead. Just form it into a loose ball and wrap it in plastic warp and place in the fridge.
- Wrap the dough/crust in plastic wrap and place the crust in the freezer for 10 minutes, then into the fridge while you prepare the other ingredients for the pie.
- Add some cinnamon (or other spice) into the flour when rolling out the dough.
- Fold the dough into quarters to lift and place it into the greased pie plate.
- Bake the crust for 7-8 minutes before adding the filling.
- Use a pie crust shield to protect the crust edges from browning too dark, or worse, burning. (If you don’t have one, you can construct a shield for the crust out of foil. Simply cut a two inch strip of foil and fold it lengthwise in half. Wrap it around the pie plate so that one folded edge covers over the crust edge, and the other folded edge wraps around the glass.)
If you’re thinking about making your own crust for your Thanksgiving pies for the first time, don’t fret. This is the best recipe!!
Homemade Pie Crust
Ingredients
- 1 1/3 cups all-purpose flour
- 1/2 tsp salt
- 1/2 cup crisco or butter well-chilled
- 4-5 Tbsp ice cold water
- 1 tsp cold vinegar
Instructions
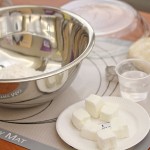
- BLEND flour and salt in medium mixing bowl.
- CUT chilled shortening into 1/2-inch cubes. Cut in chilled shortening cubes into flour mixture, using a pastry blender, in an up and down chopping motion, until mixture resembles coarse crumbs with some small pea-sized pieces remaining.
- SPRINKLE half the maximum recommended amount of ice cold water over the flour mixture. Using a fork, stir and draw flour from bottom of bowl to the top, distributing moisture evenly into flour. Press chunks down to bottom of bowl with fork. Add more water by the tablespoon, until dough is moist enough to hold together when pressed together.
- TIP Test dough for proper moistness by squeezing a marble-sized ball of dough in your hand. If it holds together firmly, do not add any additional water. If the dough crumbles, add more water by the tablespoonful, until dough is moist enough to form a smooth ball when pressed together.
- SHAPE dough into a ball for single pie crust. Divide dough in two for double crust or double deep dish crust, one ball slightly larger than the other. Flatten ball(s) into 1/2-inch thick round disk(s).
- TIP -For ease in rolling, wrap dough in plastic wrap. Chill for 30 minutes or up to 2 days.
- ROLL dough (larger ball of dough for double crust pie) from center outward with steady pressure on a lightly floured work surface (or between two sheets of wax or parchment paper) into a circle 2-inches wider than pie plate for the bottom crust. Transfer dough to pie plate by loosely rolling around rolling pin. Center the rolling pin over the pie plate, and then unroll, easing dough into pie plate.
- Trim edges of dough leaving a 3/4-inch overhang. Fold edge under. Flute dough as desired. Bake according to specific recipe directions or use one of the methods below.
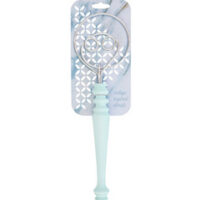
Pie Baking Essentials
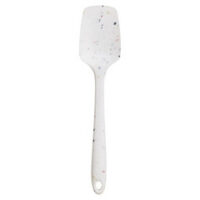
SPOONULA - Ultimate Spoon+Spatula
A most versatile tool has a sharp edge for scraping and precise scooping, plus a wide, extra-deep bowl for the really heavy stuff.

Adjustable Pie Shield
The 1-piece adjustable pie shield protects your crust from burning through the entire baking process.
Danish Dough Whisk
Light and sturdy, easy to use, mixes dough quickly, and handles all types of doughs easily.
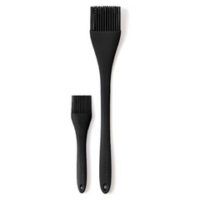
BASTING BRUSH - Grill & Small
Designed for precision on delicate tasks (like applying egg wash to pie dough)
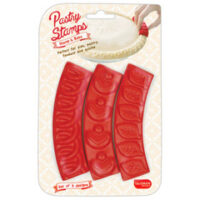
Pastry Stamps
YOU'LL GET A PERFECT DECORATIVE PIE CRUST EVERY TIME!
Terry says
Hi Erin,
I agree with you totally! Once you make a homemade pie crust, you will never go back! They are so easy! I use butter flavored Crisco in mine and everyone loves the buttery taste. Sometimes I just put the pie dough in the pie dish and use my Pampered Chef pie roller to roll out the dough in the pie dish. I don’t handle the dough as much this way which makes an even flakier crust. Thanks for your pumpkin pie recipe with cinnamon in the crust-Mmmm!
Leeann Uebel says
Do I have to use shortening? Can I use sticks of butter?